Assignment #4 - Neural Style Transfer
Background
In this assignment, I will implement neural style transfer which resembles specific content in a certain artistic style. For example, generating cat images in Ukiyo-e style. The algorithm takes in a content image, a style image, and another input image. The input image is optimized to match the previous two target images in content and style distance space.
In the first part of the assignment, I will start from random noise and optimize it in content space. In the second part of the assignment, I will ignore content for a while and only optimize to generate textures. Lastly, we combine all of these pieces to perform neural style transfer, and then we add some bells and whistles such as styling the grumpy cats from the previous assignment, video style transfer, and input image weighting (original idea).
Part 1: Content Reconstruction
For the first part of the assignment, I implement content-space loss and optimize a random noise with respect to the content loss only.
Content Loss Experiments
There are a total of 16 conv layers in the VGG16 model, thus I experiment by optimizing content loss at each of the 16 layers. The results are shown in the grid below, where the top-left image is the result of optimizing at conv_1 and the bottom-right image is the result of optimizing at conv_16


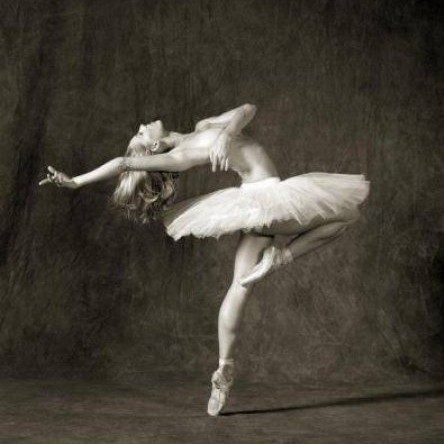
As can be seen, the reconstruction of the image gets noisier and noisier as we optimize content loss at deeper layers. However, many high-level structure/features, such as the rough silhouette of the dancer, are still preserved as we go deeper, while low-level/fine-grained details like the texture of her hair are slowly lost to noise. At conv_1, the image is almost a perfect reconstruction of the original content image:
Original Image
Conv_1 Reconstruction

Favourite
If I were to choose my favourite, it would be conv_4 (the image at the top-right of the grid), since it sits at the boundary of content and noise. Taking two random noises as two input images and optimizing them with only the conv_4 content loss gives:
Original Image
Conv_4 Reconstruction 1
Conv_4 Reconstruction 2

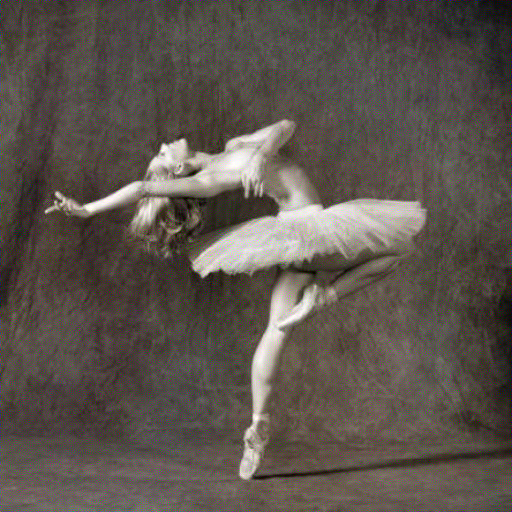
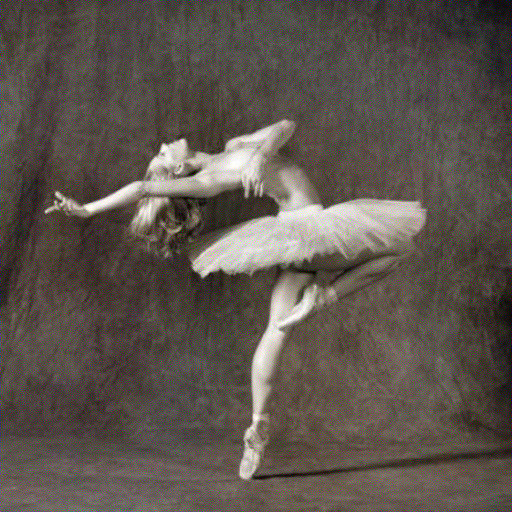
If you zoom in closely, you can see that the two reconstructed content images are slightly different, but on the surface they basically look identical. Compared to the original image, they are noisier (you can see some small RGB swirly noise artifacts if you zoom in on the reconstructed images), and also in general brighter, with higher contrast.
Part 2: Texture Synthesis
I implement style-space loss in this part.
Style-space Experiments
Based on the default style layers (conv_1 to conv_5), I try shifting this sliding window of 5 across all 16 conv layers, to obtain 11 textures. They are shown in the grid below, where the top-left image is the default style layers, and the bottom-right image is conv_12 to conv_16


As we move deeper into the network, we obtain noiser textures, but with the high-level theme of the texture still preserved (swirly patterns). The colors blend together into noise, and the texture seems to get more detailed/dense as we optimize at deeper levels in the network.
I will be using the conv_1 to conv_5 configuration, since it looks the most vibrant and representative of the original image's texture.
Comparison
Taking two random noises as two input images and optimizing them only with style loss at the conv_1 to conv_5 configuration, we obtain:
Generated Texture 1
Generated Texture 2
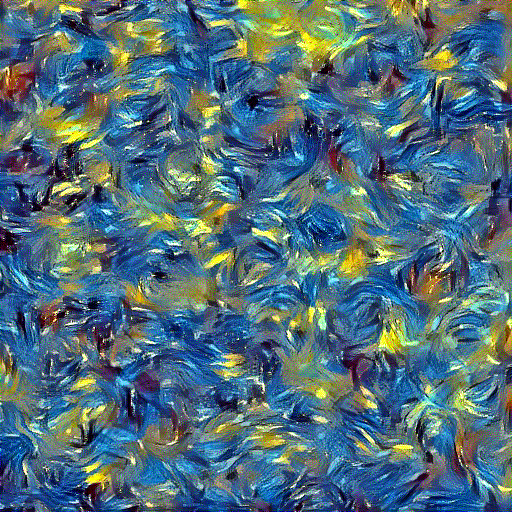
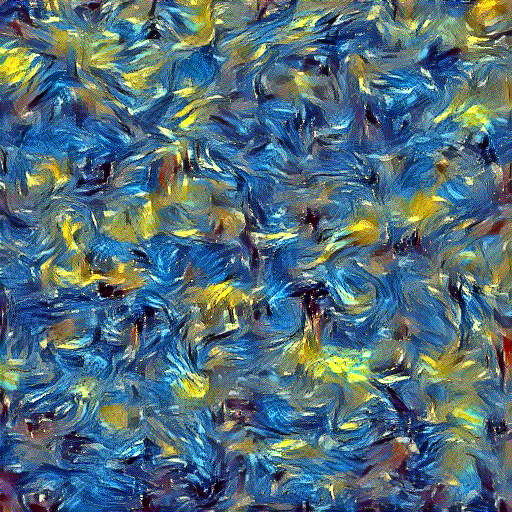
As we can see, the two textures are clearly different, because they were generated using two different noise images. However, the level of detail and color proportions of the two images are very similar, and they are thematically identical.
Part 3: Style Transfer
I put the pieces together to implement style transfer. For everything in this part, I use the content and style loss layers I chose in parts 1 and 2.
Hyperparameter Tuning
For tuning, I did some initial experiments and I realized that what affected the image output the most was the ratio between the style and content loss weights. Thus, I held the style loss weight at 1,000,000, and varied the content loss weight from 1 to 100,000 by stepping through the orders of magnitude (i.e., 1, 10, 100, 1,000, ...). The reason I stop at 100,000 is because beyond that, the content loss overpowers the style loss and we bascially get reconstructed content images. The results for two pairs of content-style pairs of images (dancing styled with starry night, wally styled with the scream) are as follows, in order of increasing content loss weight (top row is content_weight=1, last row is content_weight=100000):
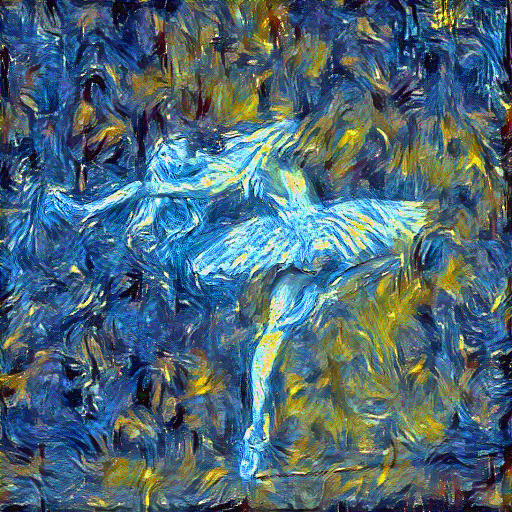
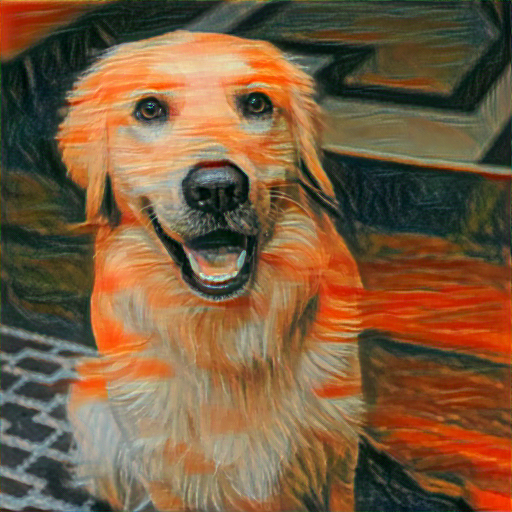
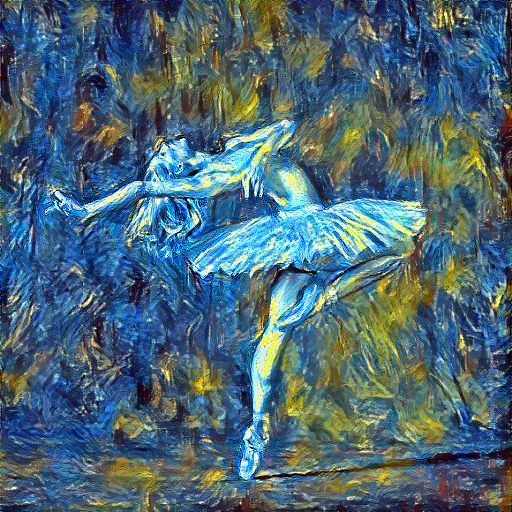
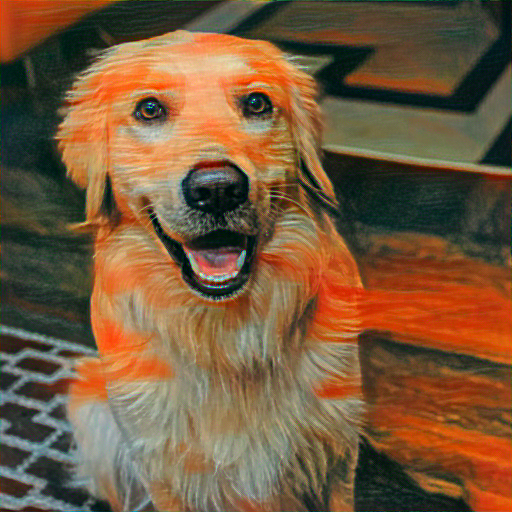
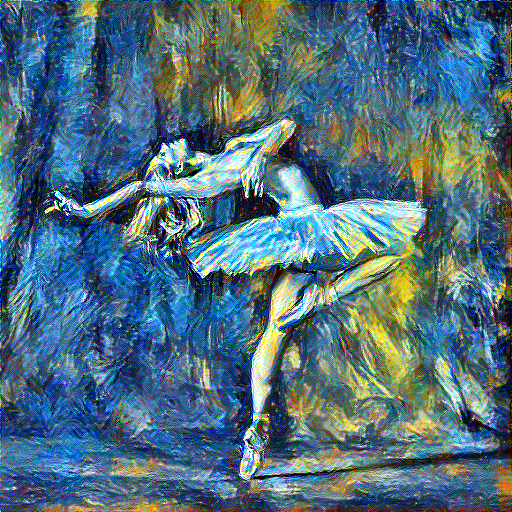
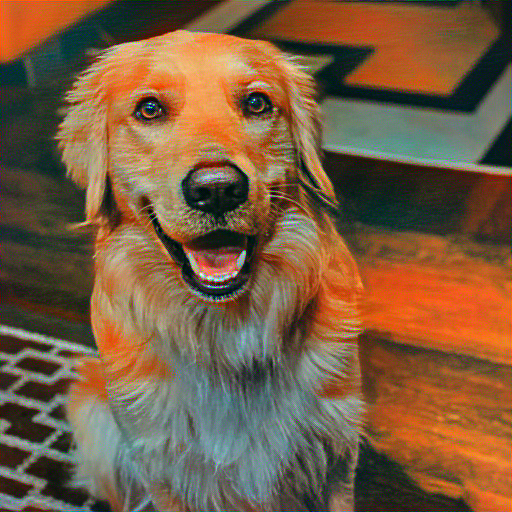
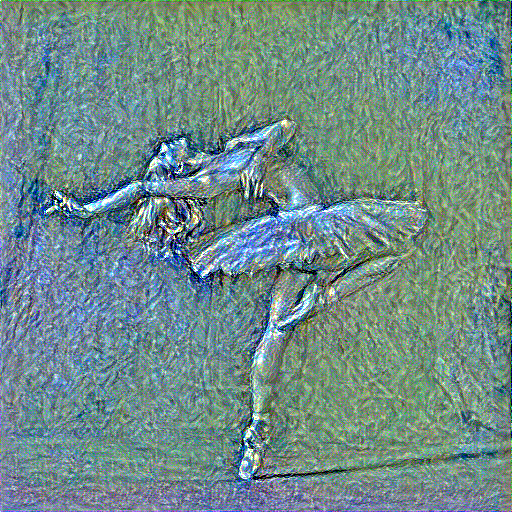
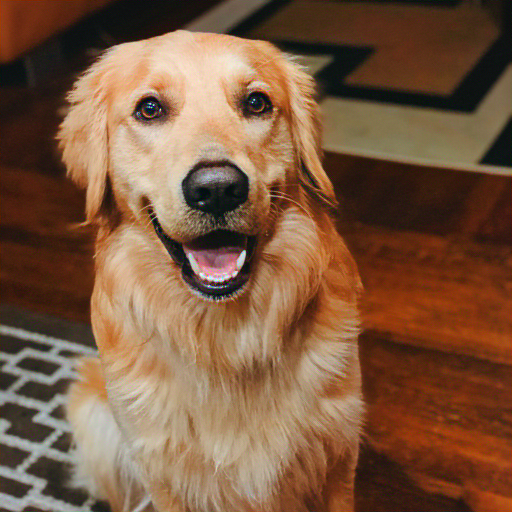
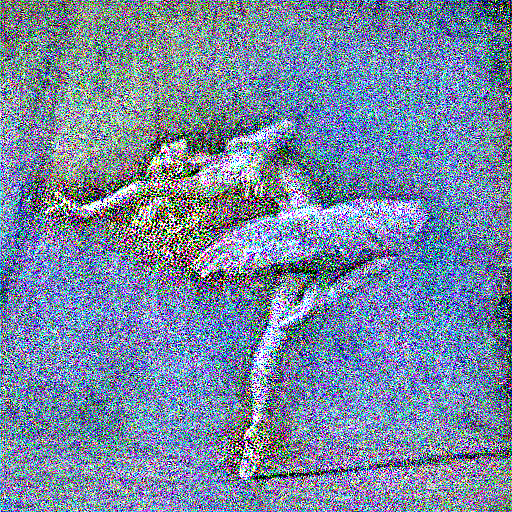
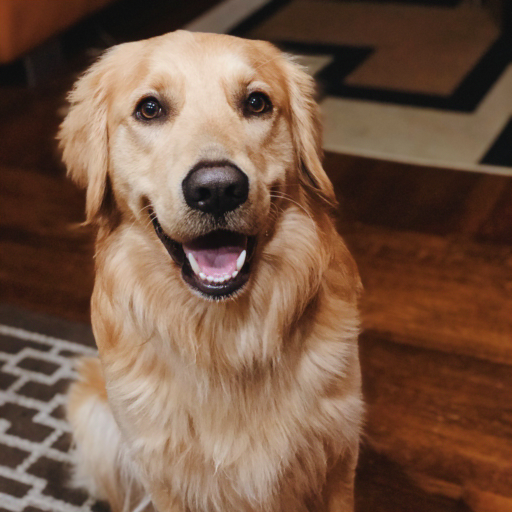
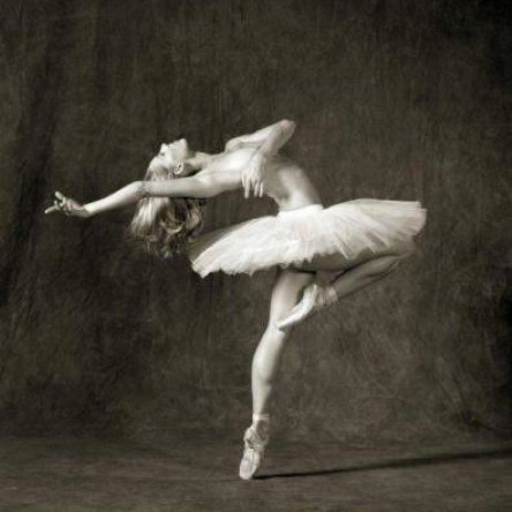
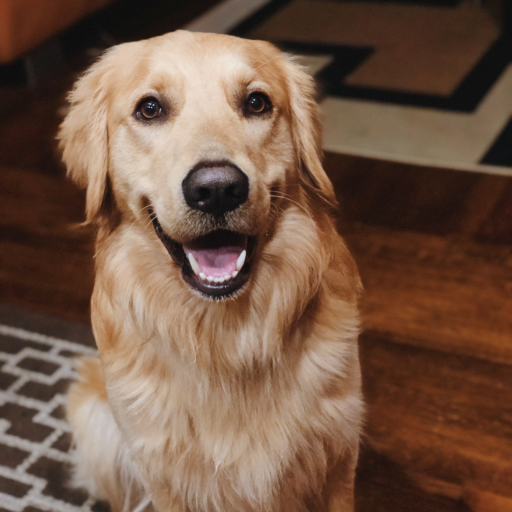
The content loss weight I choose to use is content_weight=10 (second row), since it retains the structure of the content image well while still properly transferring over the style from the style image.
Tuned Outputs
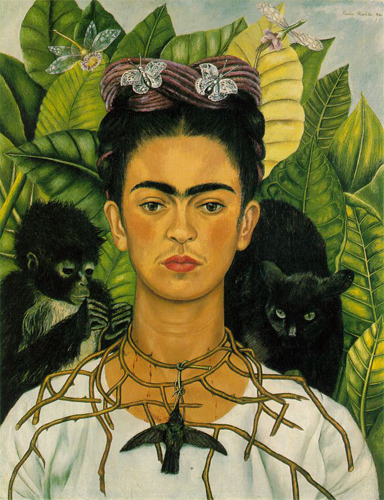
Here is a 2x2 grid of results that are optimized from two content images mixing with two style images accordingly.
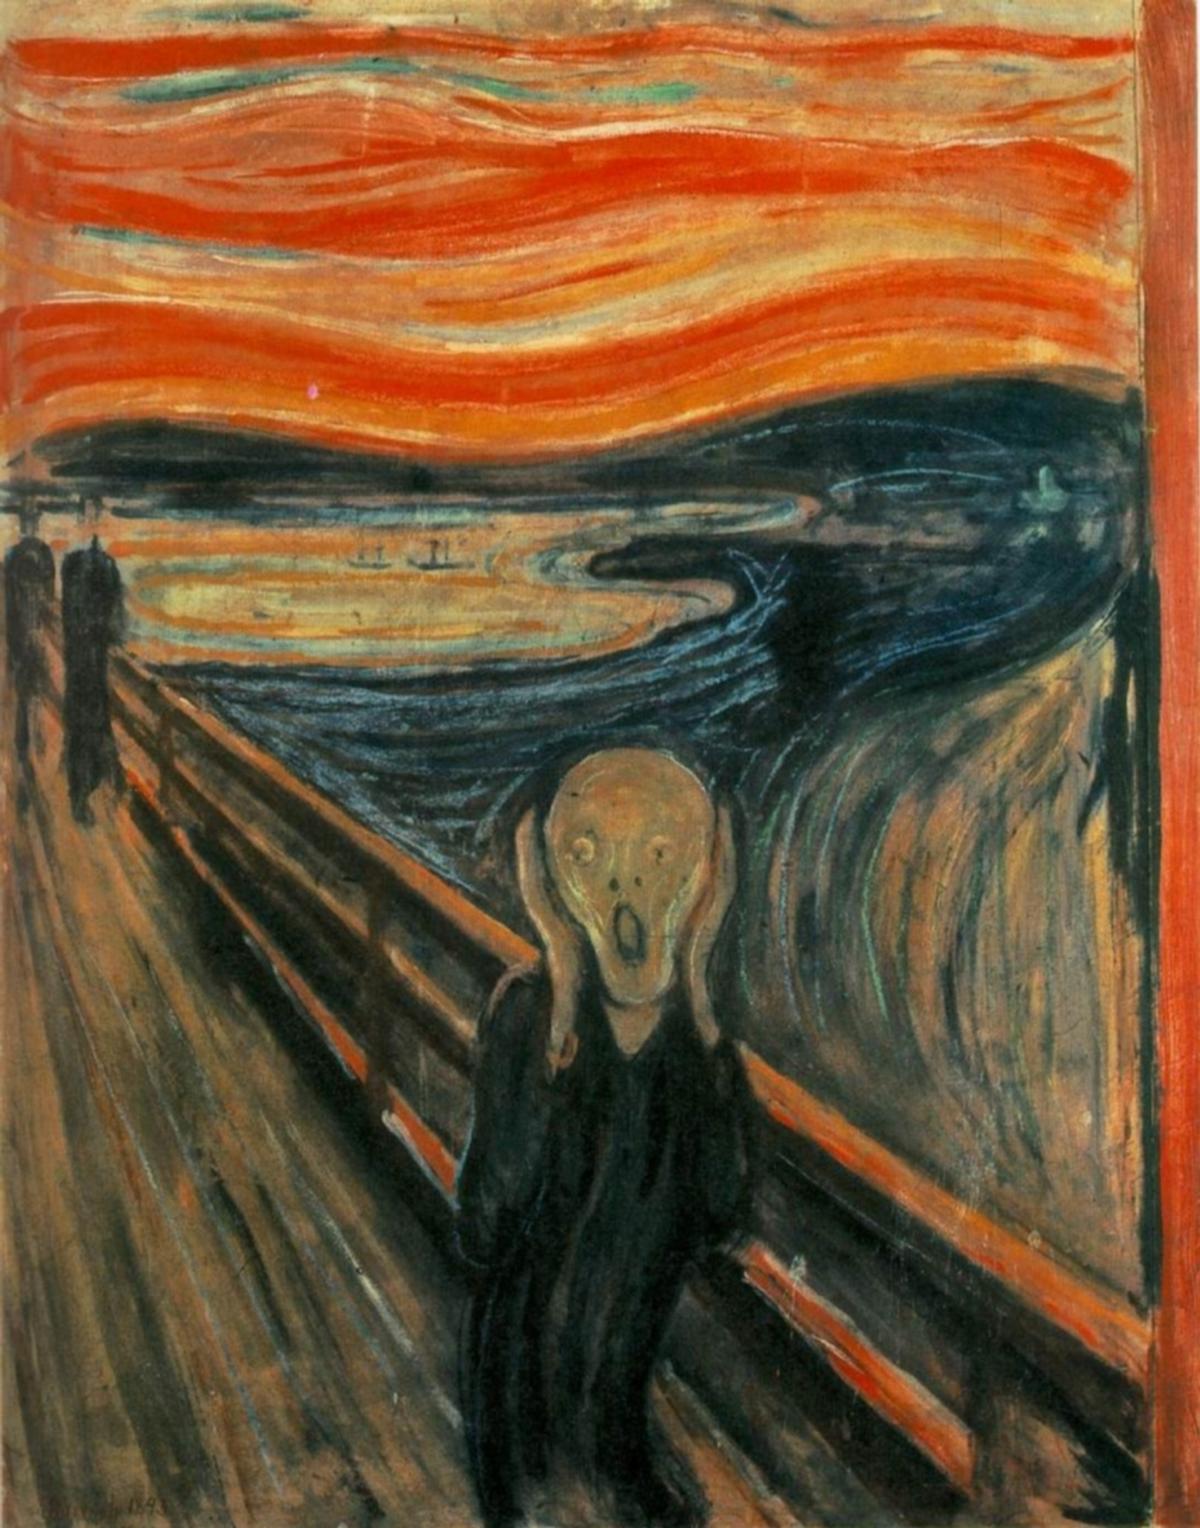
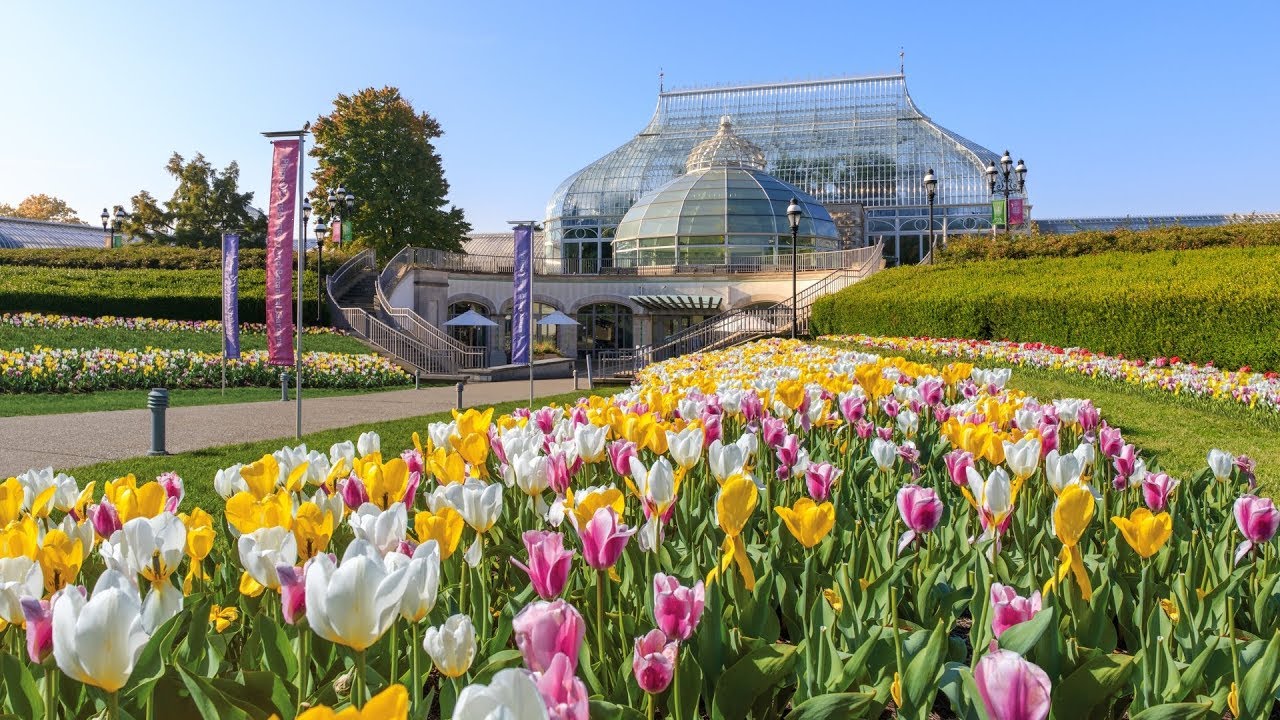


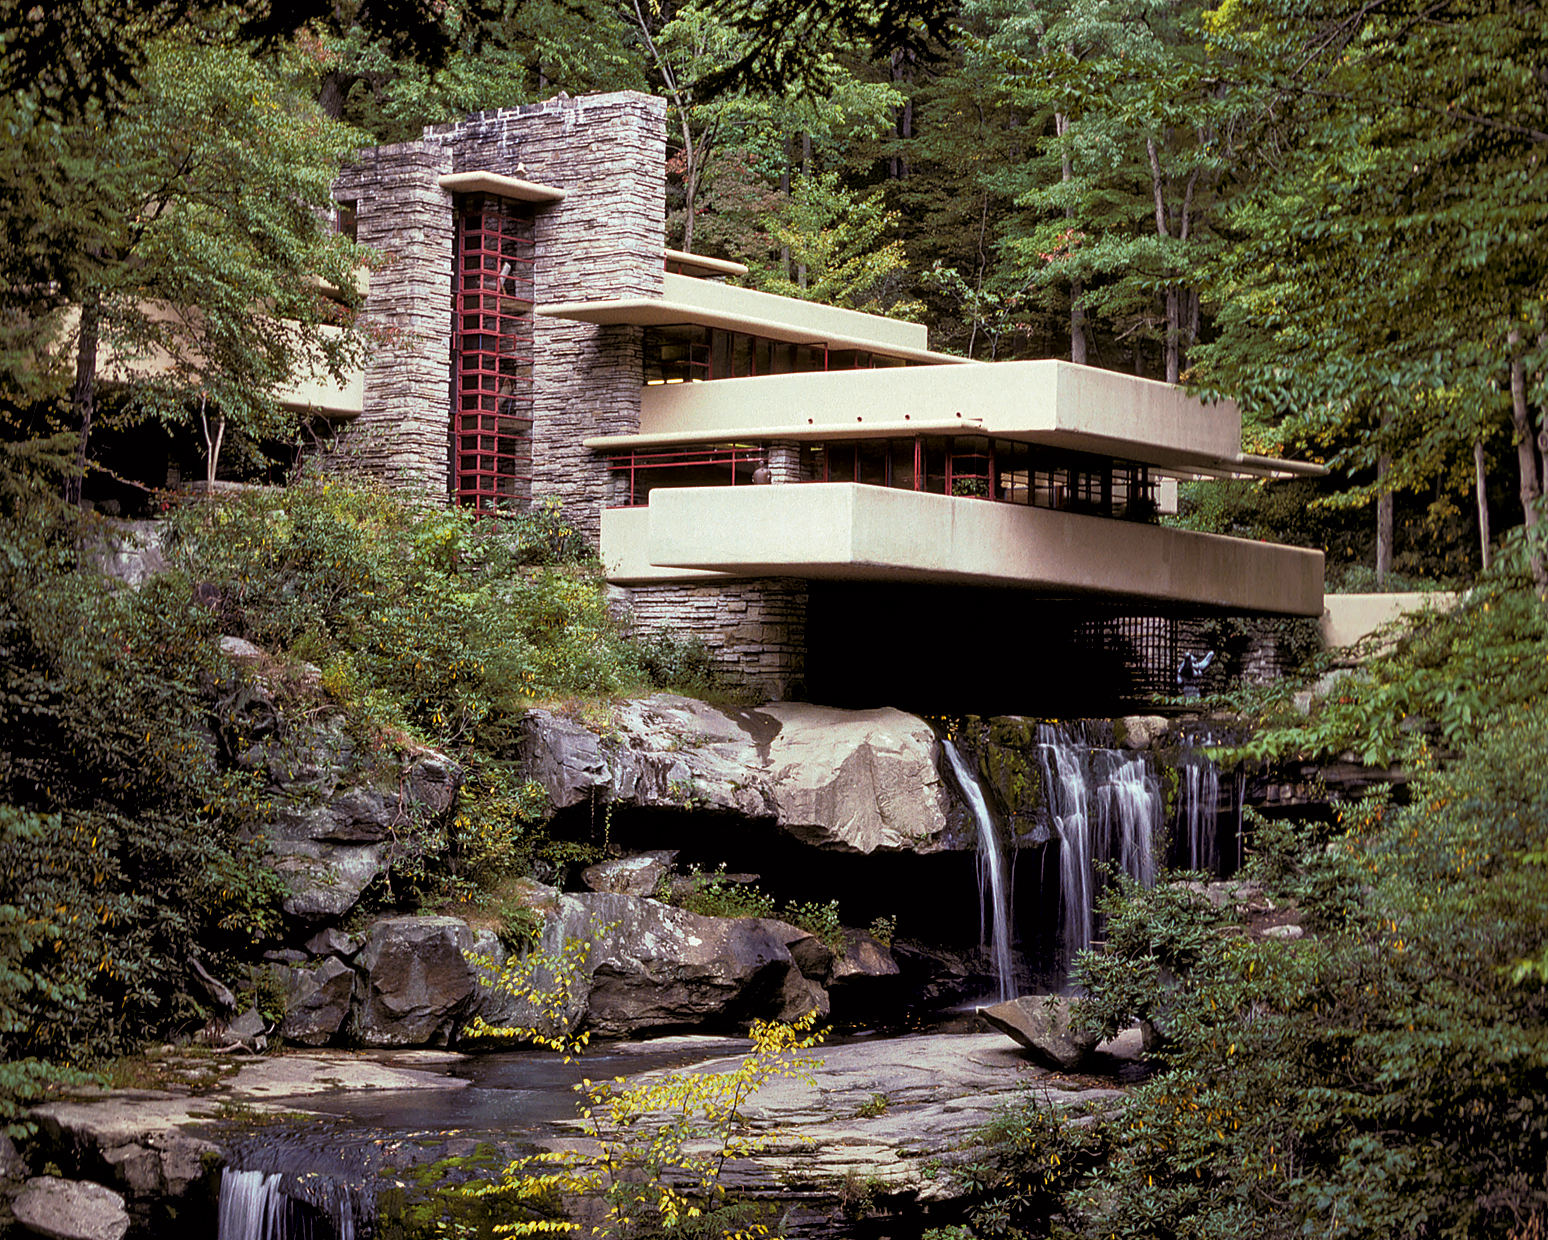


Random Noise vs Image Comparison
I took input as random noise and a content image respectively (tubingen styled with starry night). Here are the results:
Random Noise
Content Image


Over several runs, the running time of the random noise input optimization was always slightly greater than the running time of the content image input optimzation. For example, the run that produced the above images was 8.16 seconds for noise input and 8.12 seconds for content image input. The output quality of the content image input optimization is noticeably better than the quality of the noise input optimization, with better preservation of realistic colors and details, and a style transfer that is more content-aware (the image the noise input optimization produces seems to just apply the yellow and blue pattern almost uniformly everywhere).
Favourite Images
Here, I try style transfer on some of my favourite images. The first set of images (a small trick was applied here to generate this image, refer to Input Image Weighting for more details):

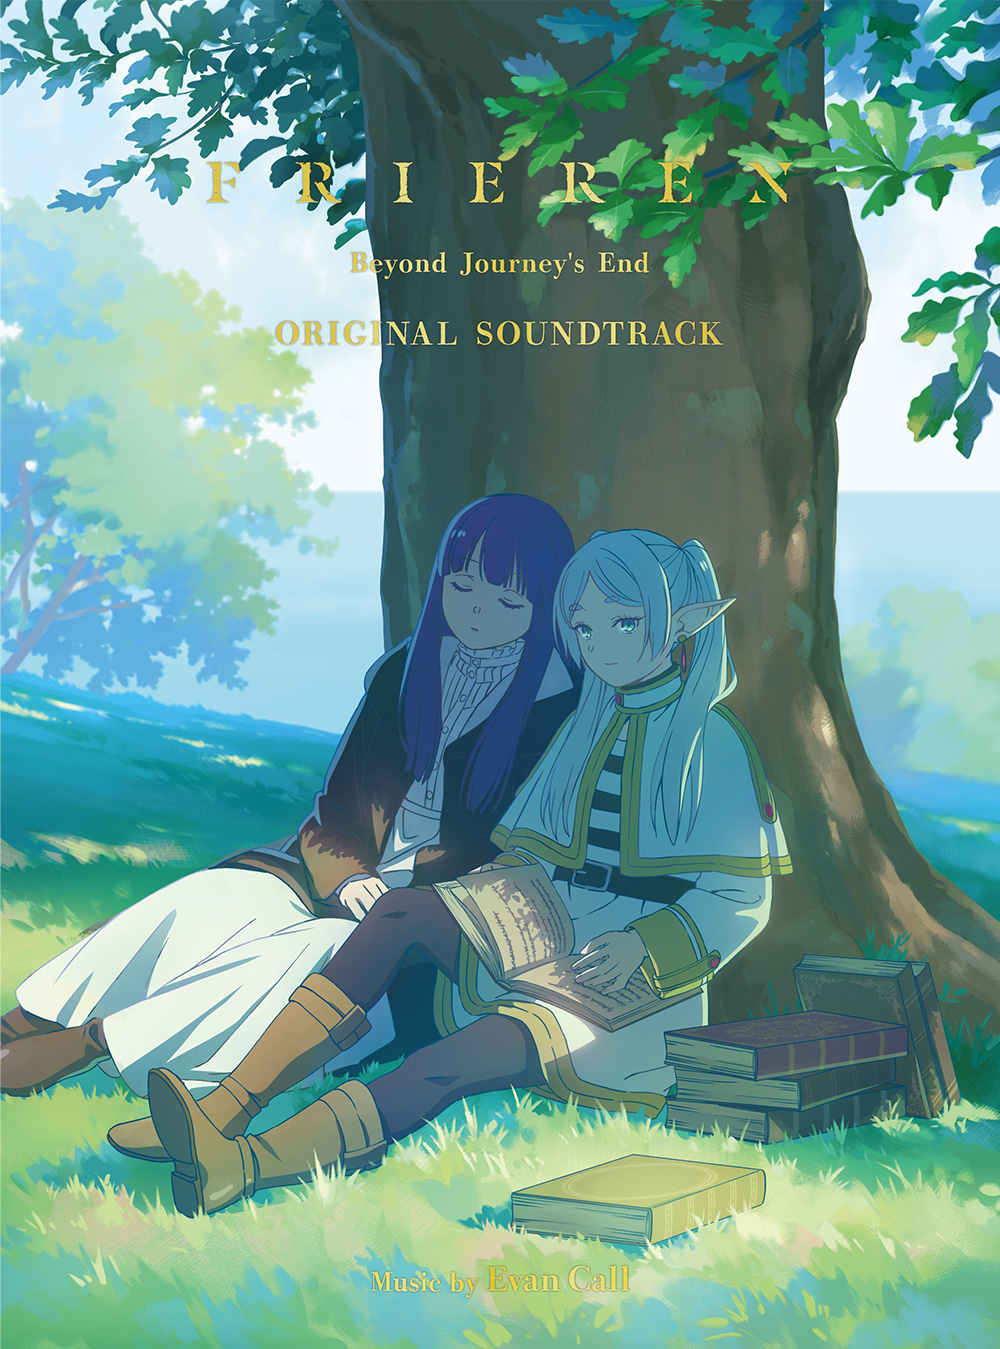

The second set of images:
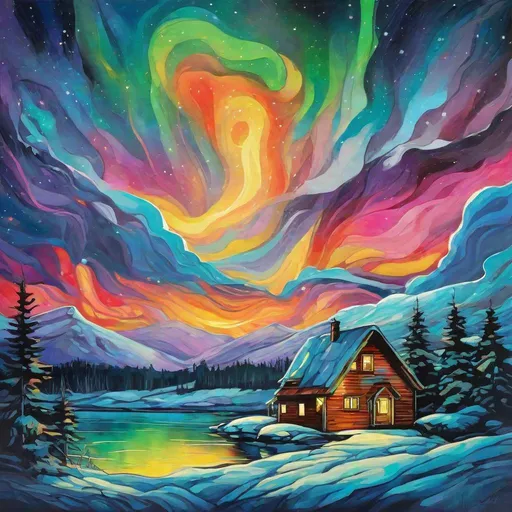


The third set of images:
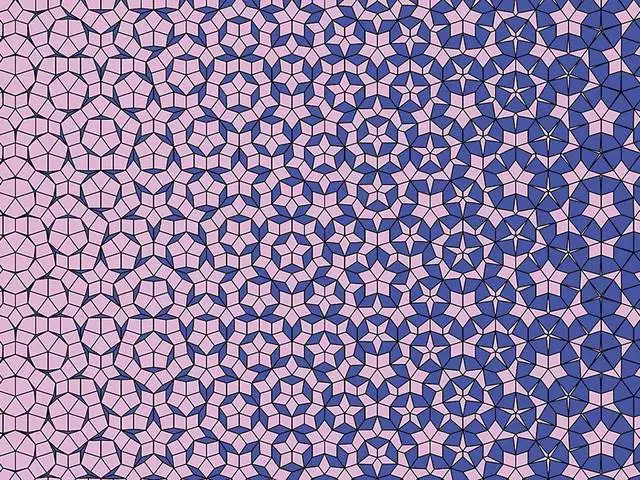
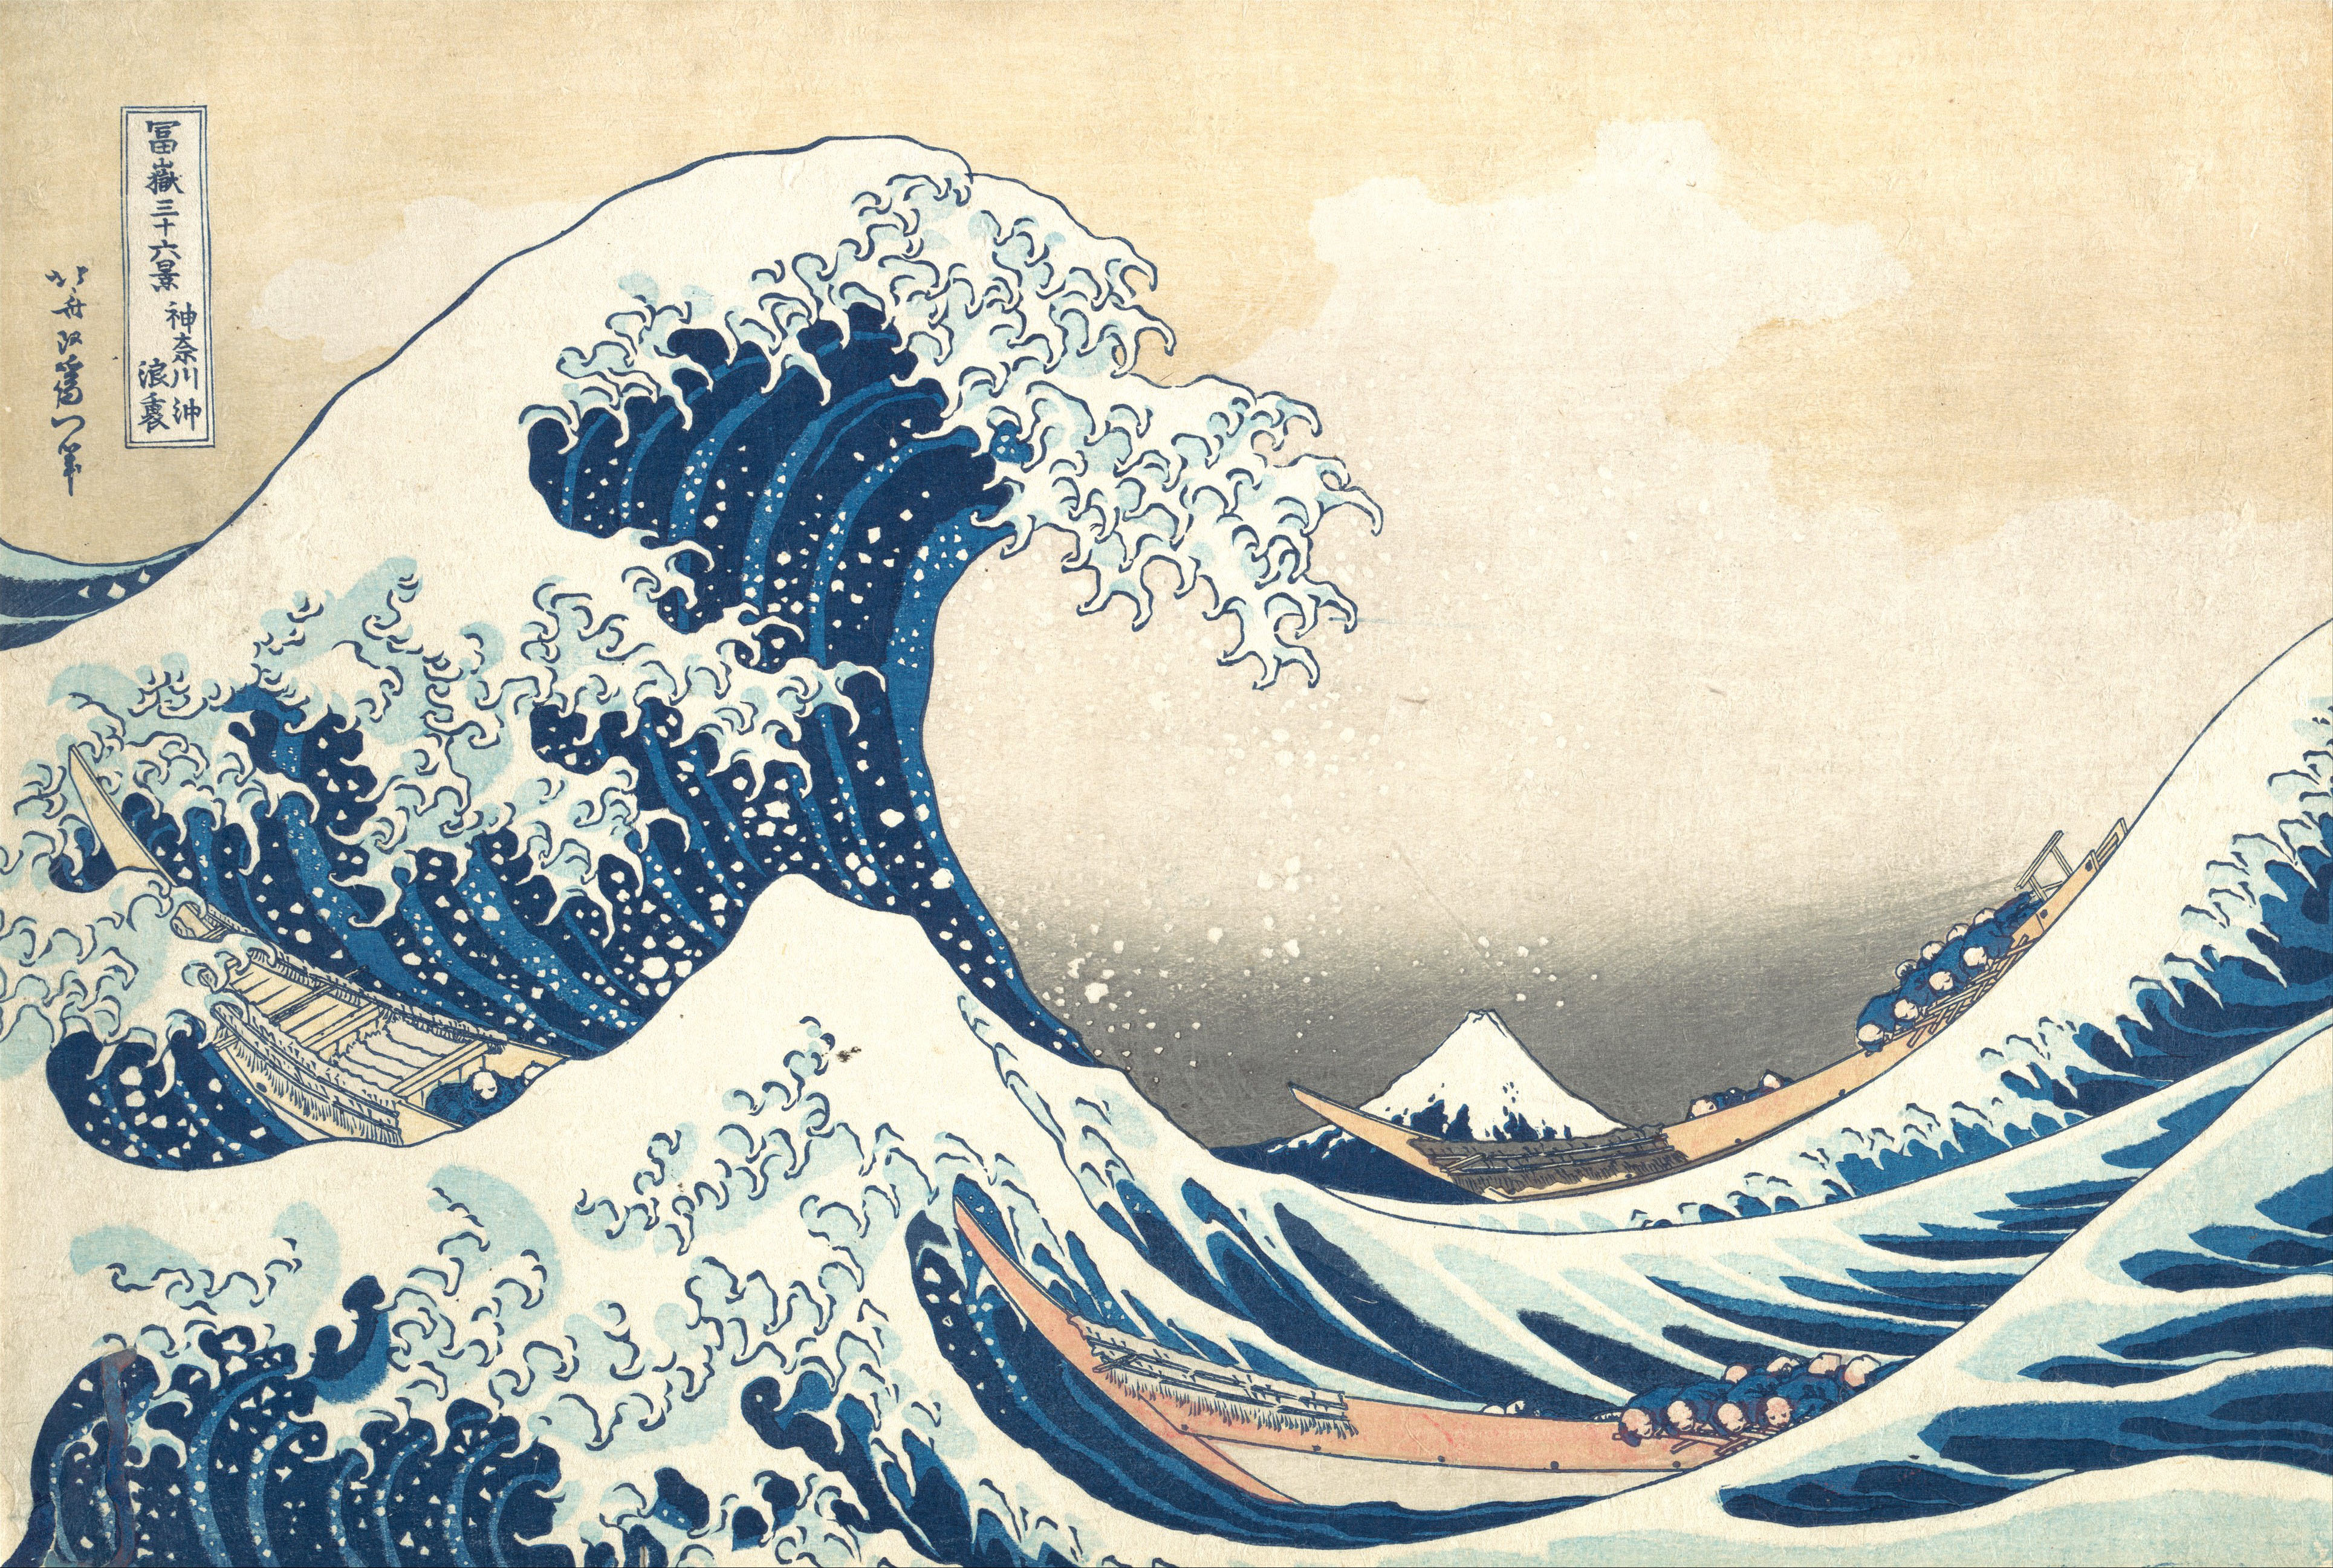

Bells and Whistles
Styled Grumpy Cats
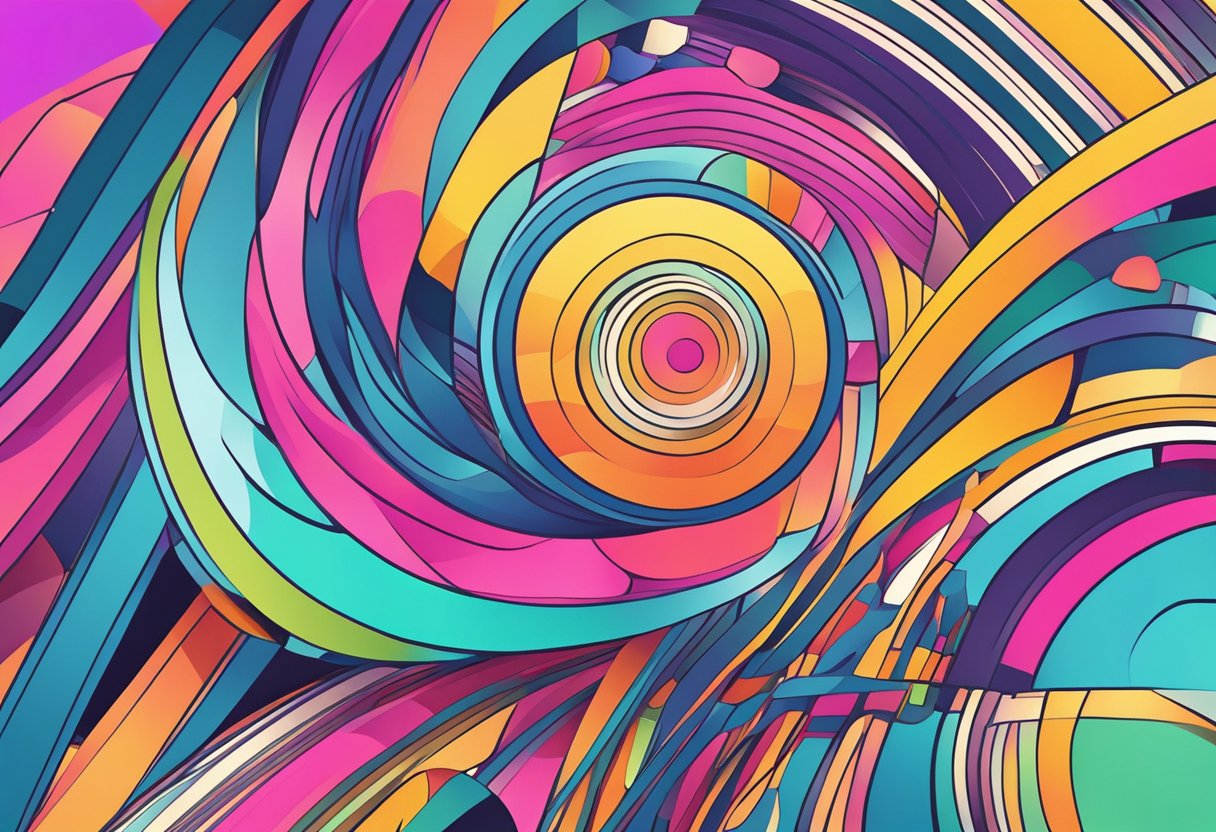
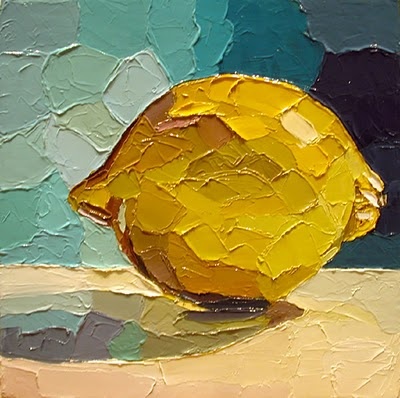
Here are some grumpy cats styled:




Video Style Transfer
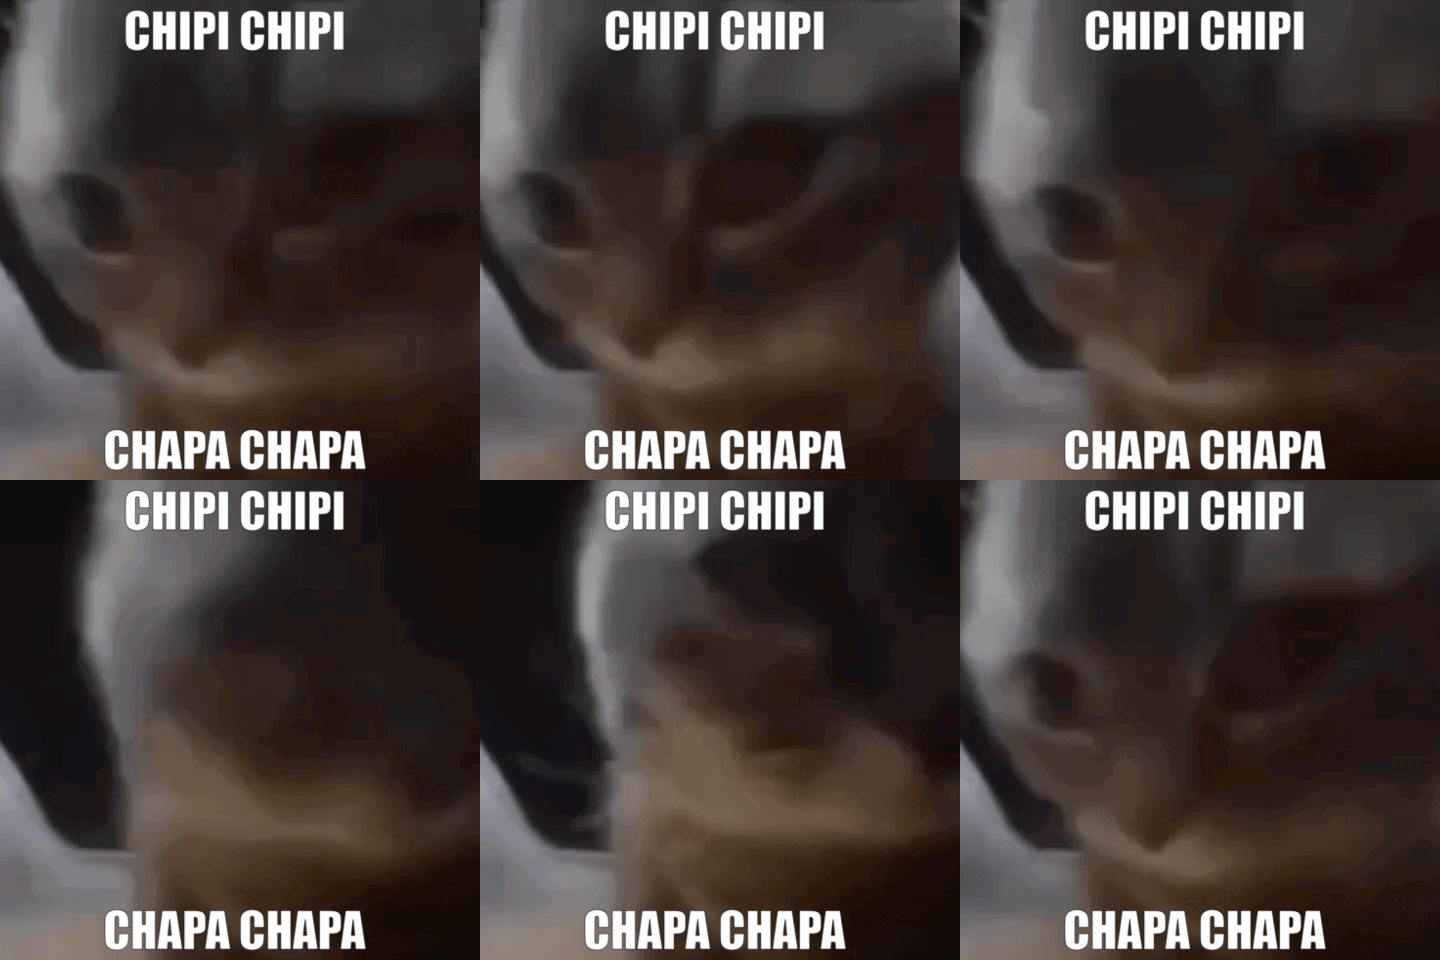
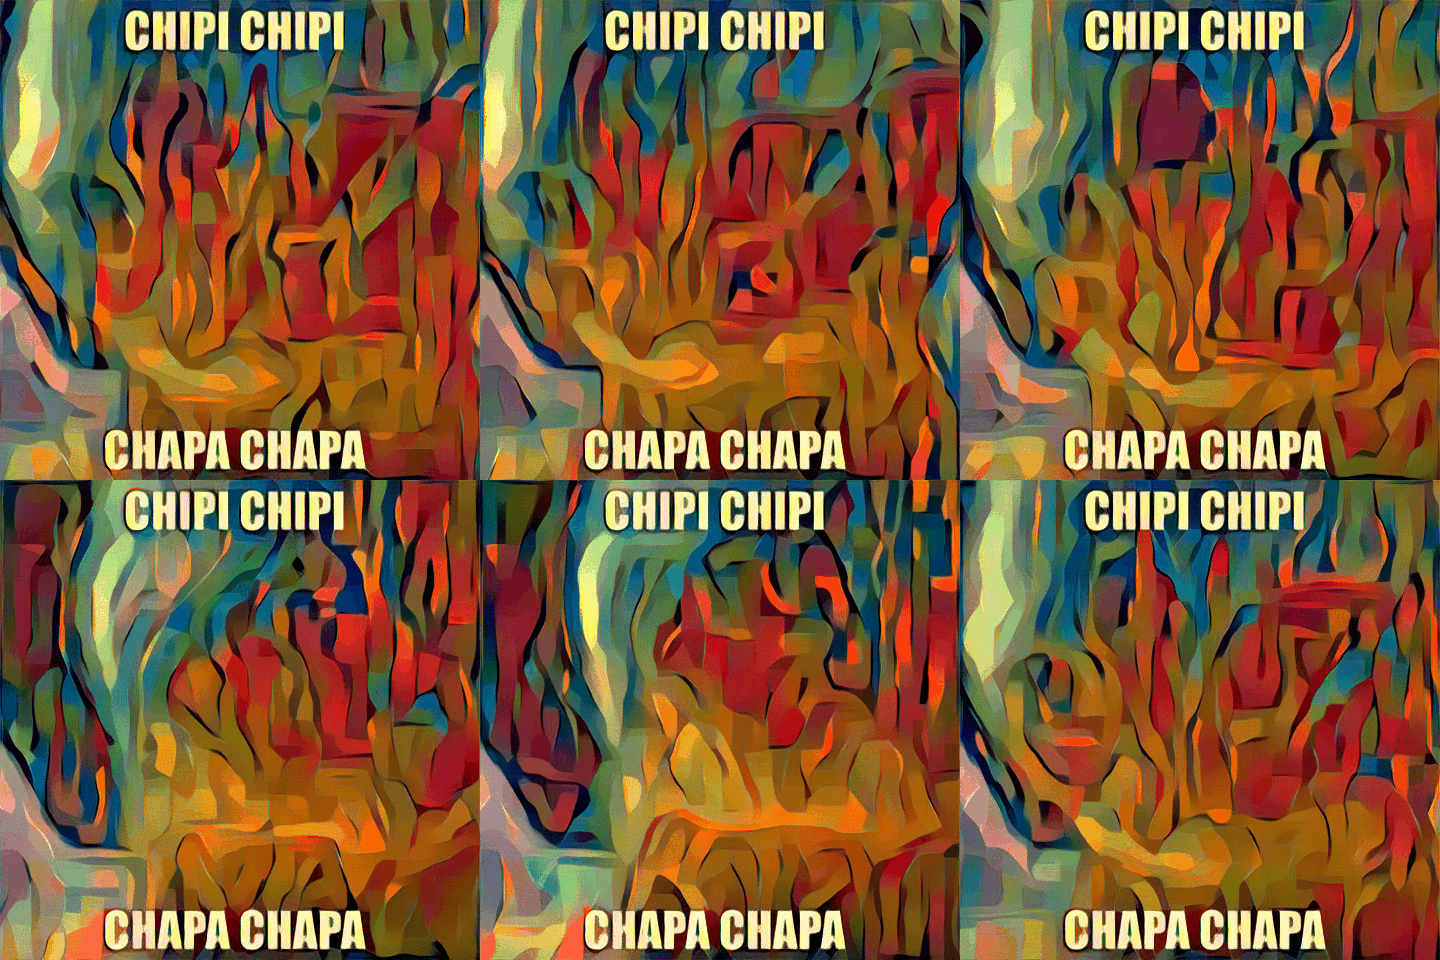
I do a frame-by-frame application of style transfer on a video, and I produce the following gif:

Input Image Weighting (Original Idea)
While trying to generate nice looking images, I found out that it was possible to set the input image as a linear combination of random noise and the content image (torch.randn_like(content_img) * alpha + content_img.clone() * (1 - alpha)), which gives you more direct, fine-grained control over how exaggerated you want the style to be. I find that this is much easier (and gives different results) than trying to tune the style and content loss to get the exact level of style transfer you want, since the latter is very indirect and dependent on the optimization process. Below, I show my first favourite image over a range of alpha, controlled by the slider input. Note that I chose α = 0.3 as the display image above.
